I have been busy working on custom orders and getting prepared for upcoming markets that I haven't made time to blog at all! I hate slacking! Well enough of my self pitty ;) Here is a quick tutorial on a simple tree display that is really fun to make. You can let your imagination run with you on this display.
Materials:
About 15 ft. 14 gauge, silver aluminum craft wire (or whatever color you prefer)
Upholstery staples
A 10"x8" piece of pine or scrap block of wood
Matte finish spray paint (I used back because of the contrast with silver)
A pencil
Wire cutters
1. Spray paint your block of wood so that it may dry while you are creating. You don't even have to spray paint it if you prefer to have the natural wood shine through.
2. Start by cutting equal length sections of the 15 ft. wire. I cut my sections at about a yard each. Take these pieces, hold them tightly together about 6 inches above one end because the excess will act as "roots" for the base. Begin to twist the wires together so that you are forming a vine like wrap. Wrap the wire up about 10". This will be the tree trunk.
3. For the roots, form little paddle feet at the tips by using a little wire wrapping.
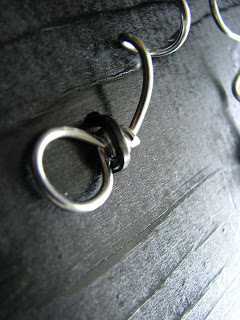
4. For the branches, have fun! I curled, twisted, coil wrapped some sections around a pencil and finished each branch with a little loop. Keep in mind that you may want to hang earrings from the branches so some loops close together would work great!
5. Now that your roots an branches are figured out, shape the trunk as you desire.
6. Now take the dried piece of wood and place the roots accordingly so that the tree won't tilt to one side more than the other, etc.
7. Take your upholstery staples and with a hammer, tap them slightly to start so they set in then bang away!
Done and done!
I loved making this tree. I am a nature lover and wire wrapping is my joy. I got to let go and didn't have to think about nicking the wire! Again, you can totally change this tree up so many ways! Be creative and have fun!


